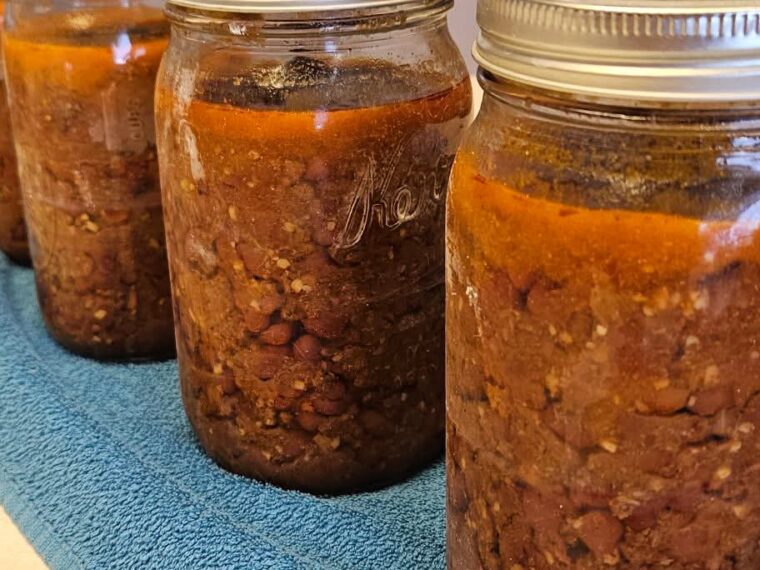
Chili – 4 Quarts | Processed 90 Minutes at 13 PSI (for altitude)
There’s something incredibly satisfying about seeing jars of homemade chili lined up, cooling on the counter after your very first pressure canning session. That steady hum of the canner, the careful timing, and finally the gentle “ping” of sealing lids — it’s a proud kitchen moment!
If you processed your chili for 90 minutes at 13 pounds of pressure (adjusted for altitude), you’re on the right track for safely canning a hearty, meat-based chili.
Here’s a reliable, pressure-canner-friendly chili recipe you can use for future batches.
Pressure Canned Chili (Makes About 4 Quarts)
🛒 Ingredients
- 3 lbs (1.3 kg) ground beef
- 1 large onion, diced
- 3 cloves garlic, minced
- 2 cans (28 oz total) crushed tomatoes
- 2 cups tomato sauce
- 2 cups dried kidney beans (soaked overnight and pre-cooked until tender)
- 2 tbsp chili powder
- 1 tsp ground cumin
- 1 tsp paprika
- 1 tsp black pepper
- 1–2 tsp salt (adjust to taste)
- 2 cups beef broth or water
⚠️ Important: Always pre-cook dried beans before canning. Never pressure can raw dried beans directly in recipes.
👩🍳 Step-by-Step Instructions
1️⃣ Prepare the Beans
- Soak beans overnight.
- Drain and boil for 30 minutes.
- Set aside.
2️⃣ Brown the Meat
- In a large pot, cook ground beef until fully browned.
- Drain excess fat.
- Add onions and garlic; sauté until soft.
3️⃣ Combine Ingredients
- Stir in tomatoes, tomato sauce, cooked beans, spices, and broth.
- Simmer for 10–15 minutes to blend flavors.
Do not thicken the chili too much — it should remain slightly loose for safe canning.
Filling the Jars
- Sterilize jars (keep hot).
- Ladle hot chili into hot jars.
- Leave 1-inch headspace.
- Remove air bubbles.
- Wipe rims clean.
- Apply lids and bands fingertip tight.
🔥 Pressure Canning Instructions
- Place jars in pressure canner with 2–3 inches of hot water.
- Vent steam for 10 minutes.
- Bring to 13 PSI (for your altitude adjustment).
- Process:
- 90 minutes for quart jars
- 75 minutes for pint jars
Always follow altitude adjustments according to your pressure canner manual.
Cooling & Storage
- Turn off heat and allow pressure to drop naturally.
- Wait 10 minutes before removing lid.
- Let jars cool undisturbed for 12–24 hours.
- Check seals before storing.
Store in a cool, dark place for up to 1 year.
🍽 How to Serve Your Home-Canned Chili
When ready to eat:
- Heat on stovetop
- Add shredded cheese
- Top with sour cream
- Serve over rice
- Spoon onto baked potatoes
- Or use for chili dogs
Safety Reminder
For safe pressure canning guidelines, always follow tested methods from trusted sources like the National Center for Home Food Preservation.
Low-acid foods like meat and beans must always be pressure canned — never water bath canned.
🌟 Final Thoughts
Your first pressure canning session is a milestone. Seeing those 4 quarts of chili cooling on the counter? That’s pantry independence.
Welcome to the world of safe, shelf-stable, homemade meals — you’ll never look at store-bought the same way again.