🍊 How to Dry Orange Slices & Display Them in a Glass Bottle
🛒 What You’ll Need
- 4–6 fresh oranges (thin-skinned varieties work best)
- Sharp knife or mandoline slicer
- Paper towels
- Baking sheet
- Parchment paper
- Oven or dehydrator
- Clean, completely dry glass bottle with cork or lid
Optional:
- Cinnamon sticks
- Star anise
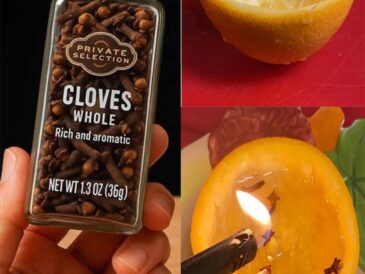
- Cloves
- Dried rosemary
🍊 Step-by-Step: How to Dry Orange Slices
1️⃣ Slice Thinly
- Wash and dry the oranges.
- Slice into ¼ inch (0.5 cm) rounds.
- Remove visible seeds.
Thinner slices dry more evenly and look more translucent.
2️⃣ Pat Dry
Lay slices on paper towels and gently press to remove excess moisture.
This speeds up drying and prevents browning.
3️⃣ Arrange for Drying
Place slices in a single layer on a parchment-lined baking sheet.
Do not overlap.
4️⃣ Oven Drying Method
- Set oven to 200°F (95°C)
- Dry for 3–5 hours
- Flip slices every hour
- Keep the oven door slightly cracked to allow moisture to escape
They’re ready when:
- Completely dry
- Slightly firm
- No sticky spots
- Light passes through the center
🌞 Alternative: Dehydrator
- Set to 135°F (57°C)
- Dry 6–8 hours
🧊 Cool Completely
Let the slices cool fully before storing.
Warm slices can trap moisture and cause mold.
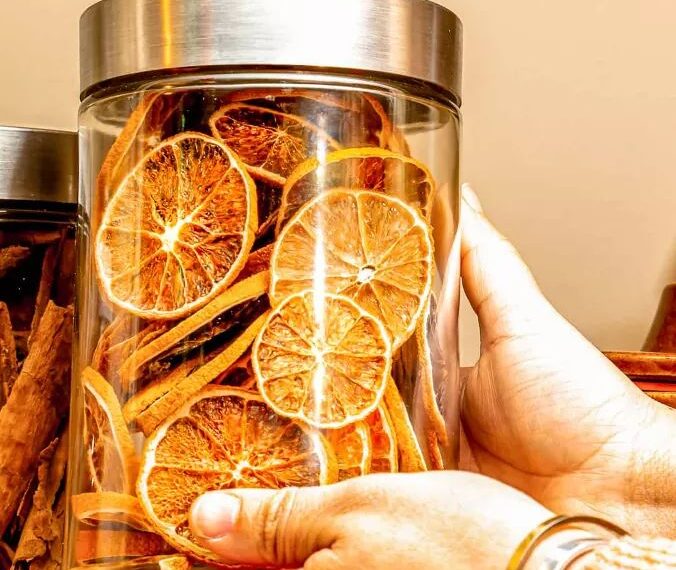
🏺 Placing Them in a Glass Bottle
Once completely dry:
- Ensure the bottle is sterilized and bone dry.
- Slide slices gently inside.
- Add optional spices for aroma.
- Seal tightly.
For a layered look:
- Alternate orange slices and cinnamon sticks
- Or create a spiral arrangement for visual impact
🌿 Uses for Your Dried Orange Bottle
- Kitchen shelf décor
- Holiday decoration
- Natural air freshener
- DIY gift
- Base for infused water (if using food-safe bottle and freshly dried slices)
⚠️ Storage Tips
- Keep in a cool, dry place
- Avoid humidity
- If condensation appears, remove and redry slices
- Properly dried oranges can last 6–12 months
✨ Final Tip
If you want extra color retention, dip slices briefly in lemon water before drying. This helps prevent darkening.
Simple. Beautiful. Naturally fragrant. 🍊