If you’ve ever dreamed of having a garden full of fragrant lavender but don’t want to wait months or spend a fortune, you’re in luck. There’s a fast, foolproof trick to grow lavender from cuttings—and it takes just two minutes to set up. Yup, you read that right. Two minutes.
Whether you’re a seasoned green thumb or a complete newbie, this guide will walk you through everything you need to know to multiply your lavender plants the easy way. Let’s dive in and get those cuttings rooted!
Why Propagate Lavender Instead of Growing from Seed?
Lavender seeds can be a real pain. They take forever to sprout, can be fussy about temperature, and sometimes just… don’t work. On the other hand, cuttings are quick, reliable, and they grow into exact copies of the parent plant.
Plus, if you already have one lavender plant (or access to a friend’s), you’re halfway there. Propagating from cuttings saves money and gets you blooming results faster.
The 2-Minute Trick: What You’ll Need
No complicated tools. No greenhouse required. Here’s your simple supply list:
- A healthy lavender plant (for taking cuttings)
- Sharp scissors or pruners
- A small glass or jar
- Water
- Optional: rooting hormone (speeds things up but not a must)
Step-by-Step: How to Grow Lavender from Cuttings in Just 2 Minutes
Step 1: Snip the Right Stem (30 seconds)
Look for a non-flowering stem that’s green and flexible—not woody. Cut a 3- to 4-inch section just below a leaf node (that’s the bump where leaves grow out of the stem).
Step 2: Strip the Bottom Leaves (20 seconds)
Remove the leaves from the bottom half of the cutting. You don’t want any leaves sitting in water—they’ll rot.
Step 3: Dip in Water or Rooting Hormone (10 seconds)
If you’ve got rooting hormone, dip the cut end in it. Otherwise, go straight to the next step.
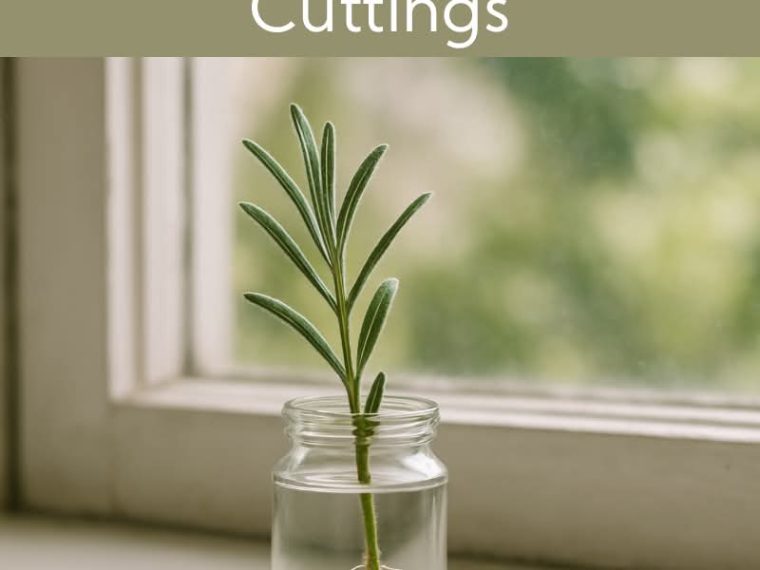
Step 4: Place in Water (30 seconds)
Pop the cutting into a glass or jar with just enough water to cover the leaf nodes. Place it on a bright windowsill—indirect light is best.
Boom. You’re done. Two minutes flat.
What Happens Next?
In about 1–2 weeks, you’ll see tiny roots starting to form. Once the roots are an inch or so long, your cutting is ready to plant in soil. Use a well-draining potting mix and keep the soil lightly moist (not soggy).
Pro tip: Cover the pot loosely with a clear plastic bag to keep humidity high while the cutting settles in.
Tips for Success
🌱 Use softwood cuttings – These root faster than older, woody stems.
☀️ Keep them warm – Room temperature is perfect. Avoid drafts.
💧 Change the water every few days – Clean water helps prevent rot.
✂️ Don’t crowd the jar – Give each cutting its own space to root.
When to Take Lavender Cuttings
The best time to take lavender cuttings is in spring or early summer when the plant is actively growing. Avoid cutting during flowering—it can stress the plant and reduce your chances of success.
Bonus: Multiply the Fragrance
Lavender isn’t just pretty; it smells amazing, deters pests, and attracts pollinators. Once you’ve mastered the 2-minute trick, you can fill your garden, window boxes, or even homemade gifts with beautiful, homegrown lavender.
Imagine giving friends little pots of lavender you grew yourself. Feels good, doesn’t it?
Final Thoughts
Gardening doesn’t have to be complicated. With this quick method, you can turn one lavender plant into many—without spending a dime or digging in the dirt for hours.
So next time you see a lovely lavender bush, grab those scissors. Two minutes is all it takes to start growing your own.