Want a fresh supply of homegrown garlic? Follow these easy steps!
Absolutely! Here’s a quick and fun guide to growing garlic like a pro:
🌱 How to Grow Garlic Like a Pro! 🧄
Fresh, flavorful garlic right from your garden!
1. Pick the Right Garlic
- Softneck: Great for warmer climates, stores longer.
- Hardneck: Ideal for colder climates, richer flavor.
2. Timing is Key
- Plant in fall (Sept–Nov) before the ground freezes.
In warmer zones, you can plant in early spring.
3. Prep Your Soil
- Garlic loves loose, well-drained soil rich in organic matter.
- Mix in compost and make sure it’s sunny!
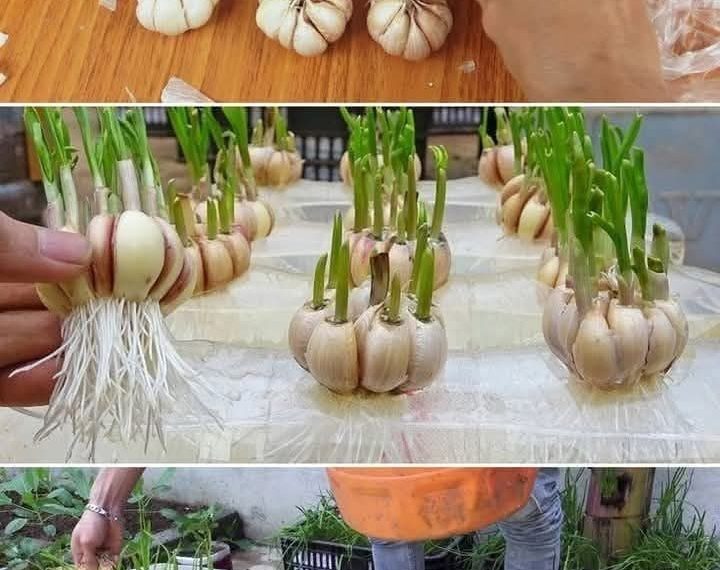
4. Planting Garlic Cloves
- Separate the bulb into individual cloves—pointy end up!
- Plant each clove 2 inches deep, 6 inches apart in rows.
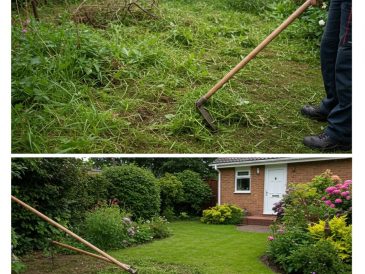
5. Mulch and Water
- Cover with straw or mulch to protect during winter.
- Water regularly but don’t overdo it—garlic hates soggy roots.
6. Spring Care
- Remove mulch when the weather warms up.
- Side-dress with compost or a balanced fertilizer.
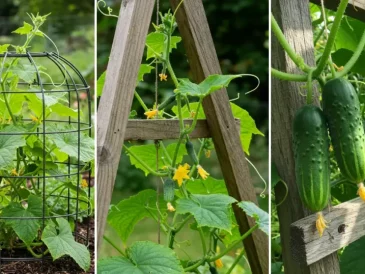
7. Scape Time (for hardneck varieties)
- In early summer, snip off the curly garlic scapes to boost bulb growth. Bonus: scapes are edible!
8. Harvest Like a Pro
- When the bottom leaves are brown (usually midsummer), gently dig up the bulbs.
- Don’t pull—use a garden fork to avoid damage.
9. Cure and Store
- Hang garlic in a cool, dry, airy place for 2–4 weeks.
- Trim roots and stalks. Store in a cool, dark pantry.
Bonus Tip: Save your best bulbs to plant again next season—your garlic just gets better each year!
Want a printable version or social media graphic for this?