🍦🌱
A Simple, Biodegradable Gardening Hack That Actually Works
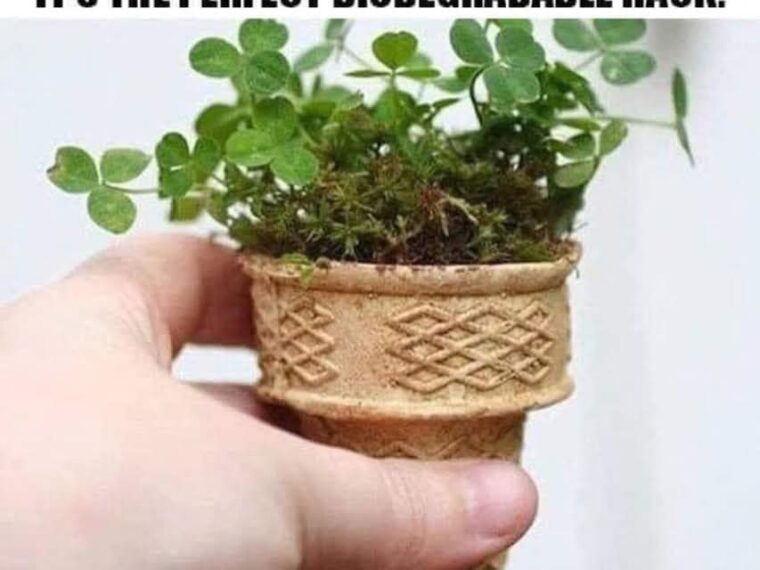
Looking for an easy, eco-friendly way to start your seeds? Using ice cream cones as mini planting pots is a clever trick that saves money, reduces waste, and makes transplanting effortless. Plus, it’s fun—especially if you’re gardening with kids!
🌿 Why Ice Cream Cones Work
Ice cream cones (the flat-bottom kind) are made from natural ingredients and break down easily in soil. This means you can plant the whole cone directly into the ground without disturbing the roots.
Benefits:
- 🌱 Biodegradable – no plastic waste
- 🌱 No transplant shock – roots grow freely
- 🌱 Affordable & accessible
- 🌱 Perfect for small seedlings
🛠️ What You’ll Need
- Flat-bottom ice cream cones (not sugar cones with holes)
- Seed-starting soil
- Seeds (flowers, herbs, or vegetables)
- A tray or container to hold the cones
- Water
🌱 Step-by-Step Instructions


1. Prepare Your Cones
Place the cones upright in a tray or box so they don’t tip over.
2. Fill with Soil
Add seed-starting mix to each cone, leaving a little space at the top.
3. Plant Your Seeds
Sow seeds according to their depth instructions.
4. Water Gently
Moisten the soil carefully—don’t soak it too much to avoid softening the cone too quickly.
5. Let Them Grow
Place the tray in a sunny spot and keep the soil slightly moist.
6. Transplant Directly
When seedlings are ready, plant the entire cone into the ground or a larger pot.
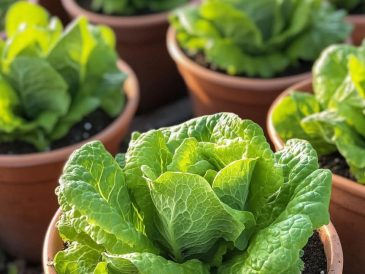
🌼 Best Plants for This Method
- Herbs (basil, parsley, cilantro) 🌿
- Flowers (marigolds, zinnias) 🌸
- Small vegetables (lettuce, spinach) 🥬
✔ Ideal for plants that don’t like root disturbance.
💡 Helpful Tips
- Use a tray to catch moisture and keep cones stable
- Avoid overwatering—cones can become soggy
- If the bottom is sealed, poke a tiny hole for drainage
- Plant before the cone starts breaking down too much
⚠️ Things to Watch Out For
- Cones may attract ants if left too long
- They can mold if kept too wet
- Not suitable for long-growing plants
✨ Final Result
This simple hack turns a common snack item into a smart gardening tool:
✔ Zero waste
✔ Healthier seedlings
✔ Easier planting
✔ Fun and creative gardening
It’s a small change that makes a big difference in how you grow your garden 🌱🍦💚